Published
-
Jamf DEP workflow

Recently we’ve started implementing Jamf Pro as an MDM. I’m still far more familiar with Munki and a thin imaging based workflow. We’re still going to be using Munki for the majority of our software management, but Jamf will be the tool used for DEP and bootstrapping.
I’ll open this be describing the intended workflow. We’re an AD shop. As part of deployment, we need to name the machine to something acceptable to AD and unique. We then need to preform an AD bind. We also need the time server set and Managed Software Center installed. After that Munki has historically bootstrapped all the software and configuration needed. We do not provide our users admin rights, and we require a local administrator account setup. We also require FV2 enabled on all machines.
After quite a while of trying to get DEP set for our purchasing, we finally got our first shipment of DEP enabled machines (also the first time we’ve wanted to move past 10.12, since UAMDM became very important after 10.12). The first roadblock we encountered was that after rolling through setup assistant, we would need to manually create the admin account to make sure it got a working secure token. The second roadblock was that we would need to manually name the machine and bind it to AD.
The decision was made to utilize SplashBuddy to gather the hostname information and feed it back into Jamf to name the machine and bind to AD. The workflow for doing this in Jamf evolved a few times. The final decision was to tag the steps with custom event triggers, and have a script run on DEP enrolled devices at enrollment. For policies and scripts, running these requires a “ghost package” to run in front of and behind the policy/script to declare that it is being run and it has completed. These ghost packages are just another pair of scripts.
The final workflow works something like this:
- At enrollment deploy a script
- That script spends almost it’s entire life calling jamf policy -event sb_step_name
- The first step is to install splash buddy
- The second step sets a time server once splashbuddy is installed
- The third step is run a script to collect the information dropped off by the splashbuddy form and insert it into a plist. It will sit here and wait in an until loop for the information to arrive, holding up the parent script. It will wait forever
- The fourth step takes that hostname and sets on the machine, then binds to AD
- The final step just installs munki, demands a reboot, and tells munki to run on reboot
Behind the scenes, JAMF has been installing all of the configuration profiles to automate the other setup. We also have Jamf install all of our VPP apps after Munki is installed, as it was previously trying to do that during the initial provisioning workflow and that was problematic. In our environment, this has resulted in a consistent and workable flow to get a machine configured for end users.
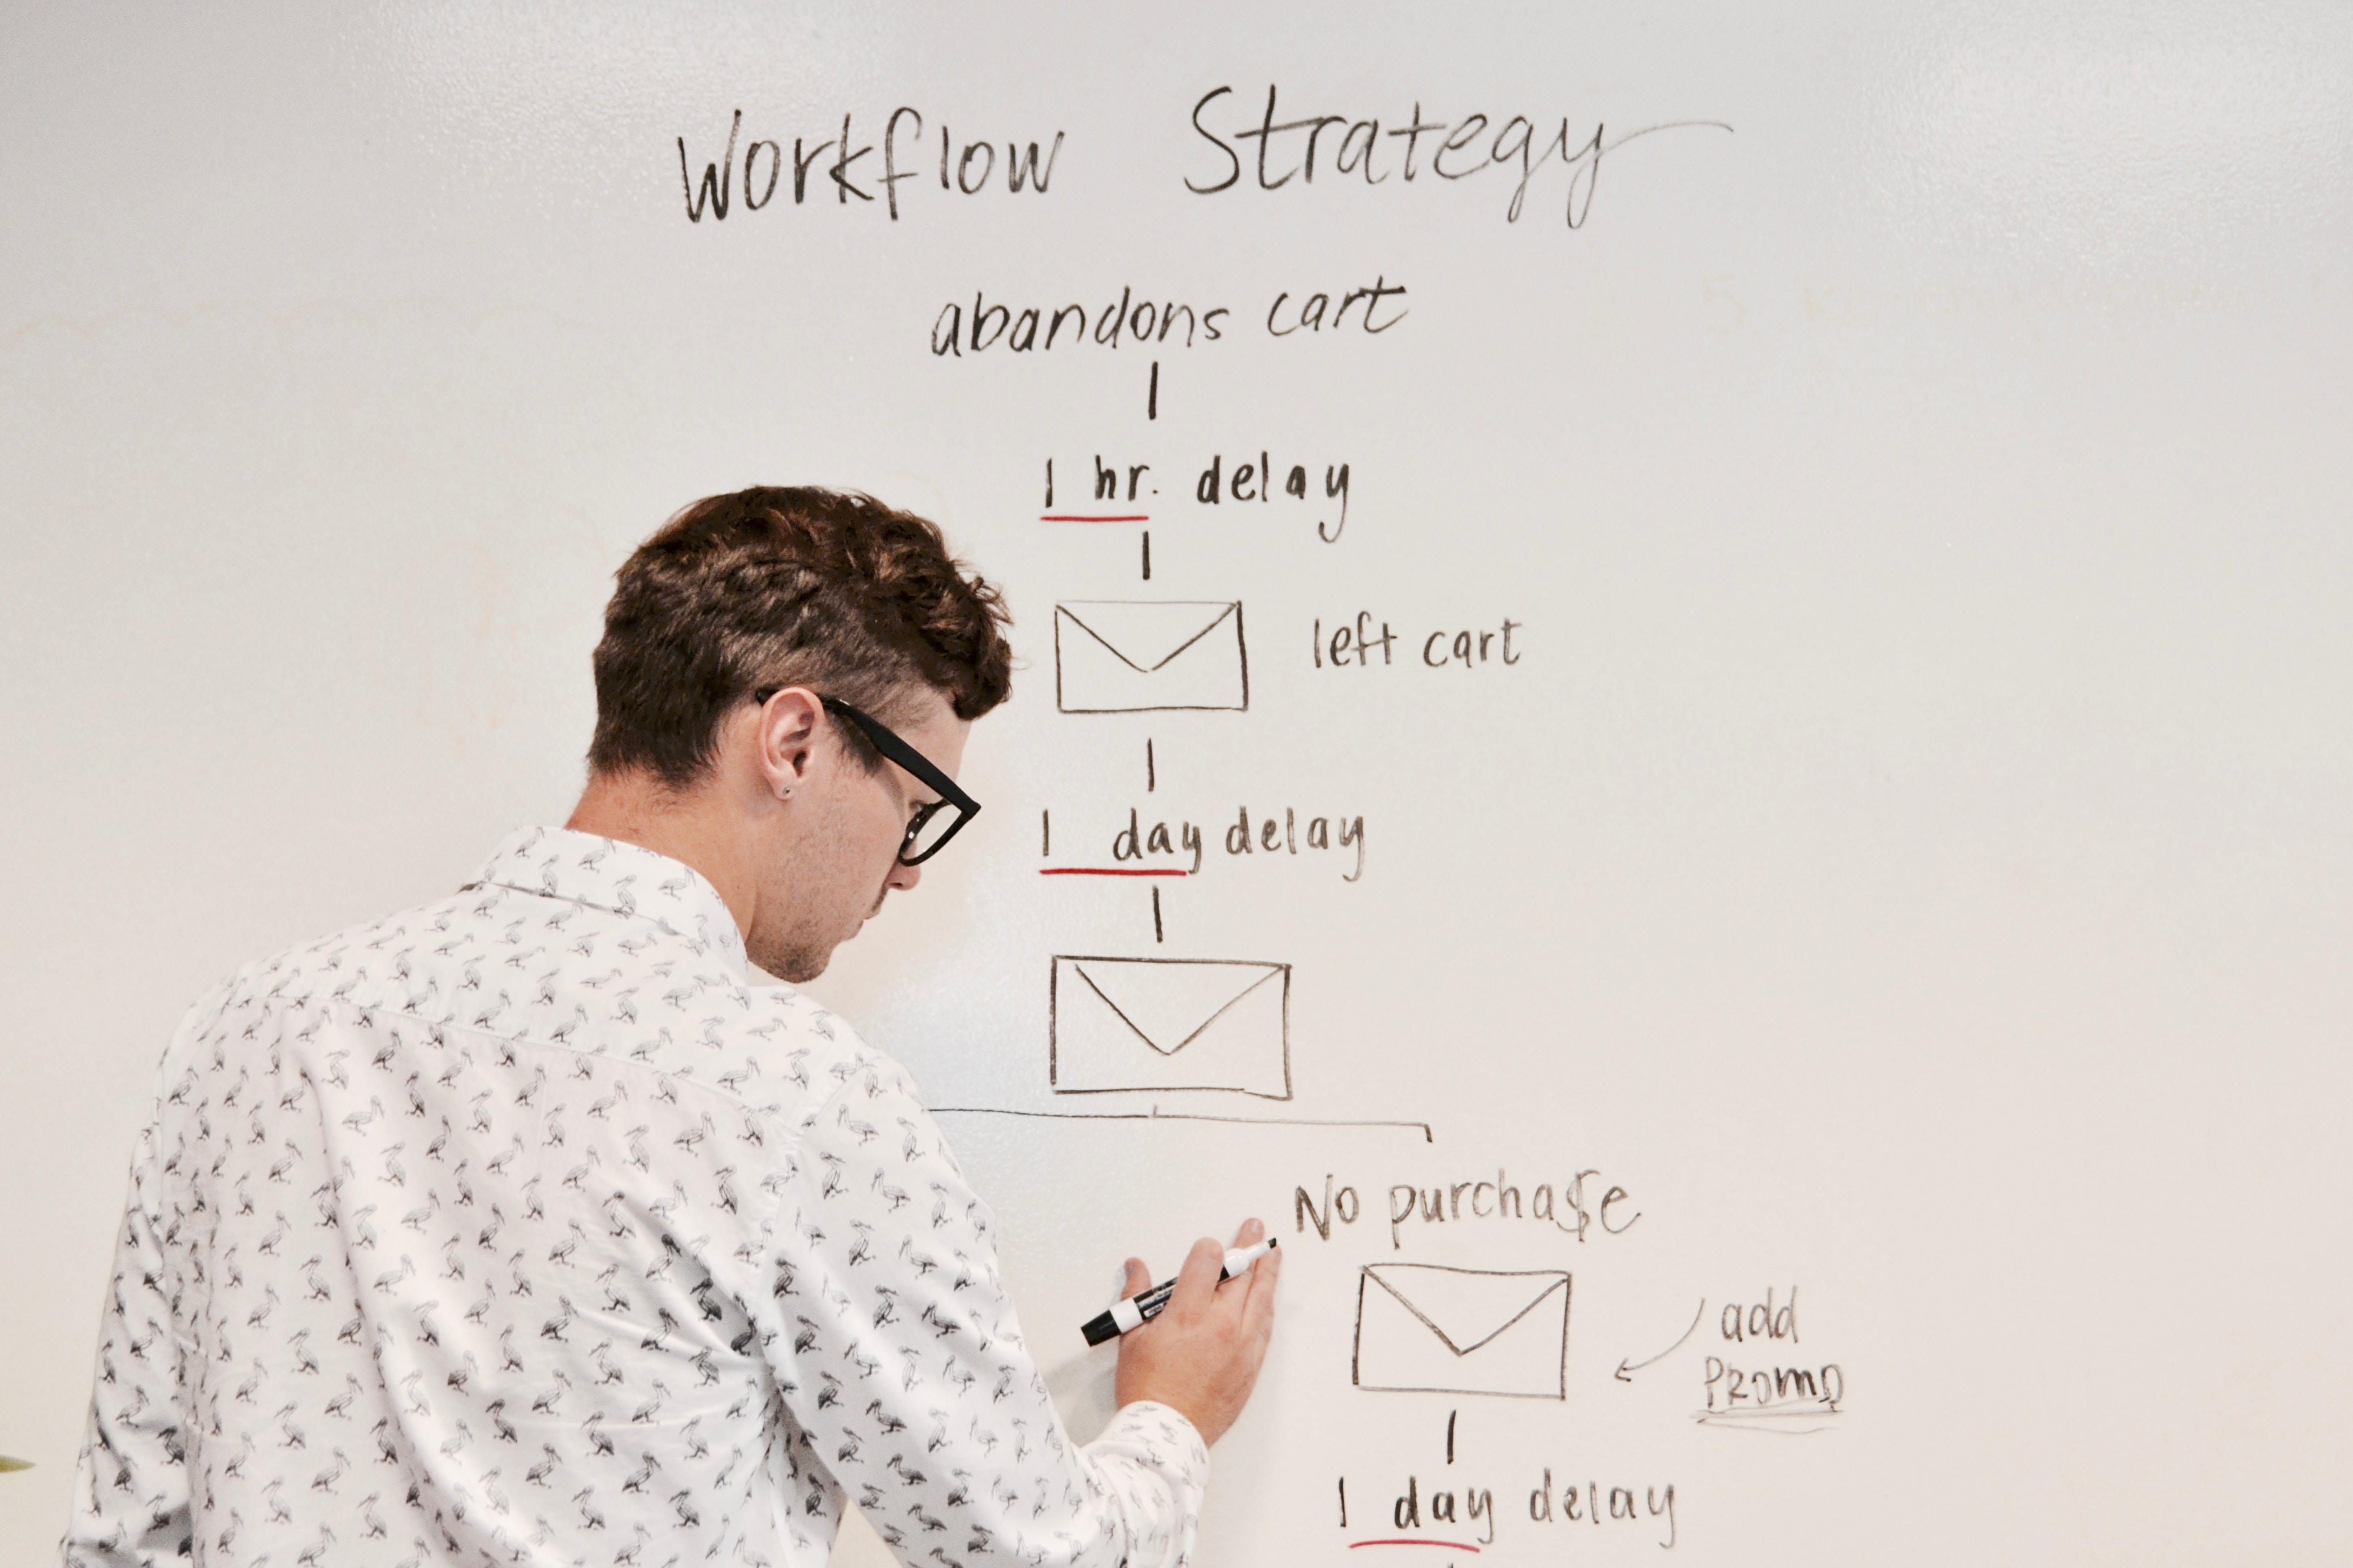
Photo by Campaign Creators on Unsplash